I have been wanting to do a stair runner ever since I first finished the stairs. (I wrote a post about that project here) The problem with a stair runner is that I couldn’t find one that was both long enough and pretty enough. I wondered if anyone had ever used floor carpet runners on their stairs and after a little googling I found out that some had!
Casey over at Loft & Cottage did her stairs using some runners from Ikea. Didn’t it turn out beautiful?
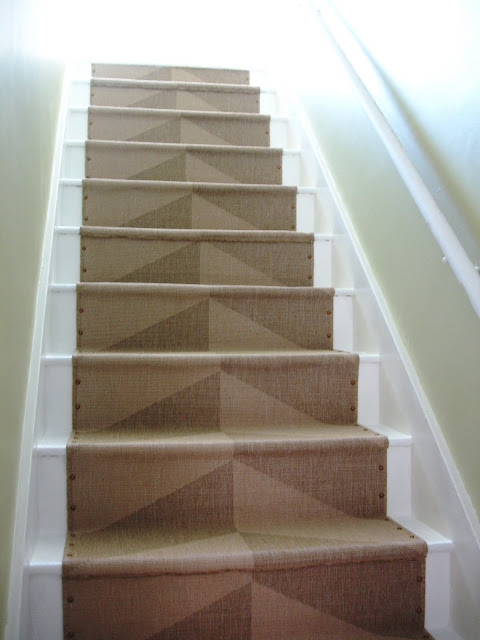
I was hoping for something with a little more drama like these stairs with a chevron pattern runner.

(image)
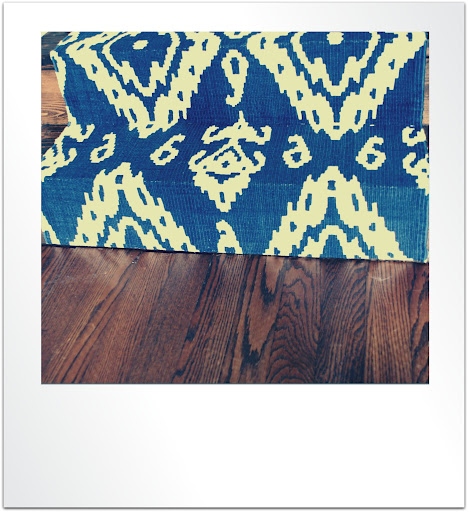
Since we’ve been saving for the kitchen renovation lately I haven’t even given our stairs a second thought. Enter Marshalls. Or should I say Emily entered Marshalls and found one gorgeous 2.6′ x 8′ navy and white Ikat runner (for $30!!!!) and fell in love and wondered where oh where was she going to find two more just like it.
I got a little desperate. There may have been some Instagram, Twitter, Facebook begging going on. Maybe.
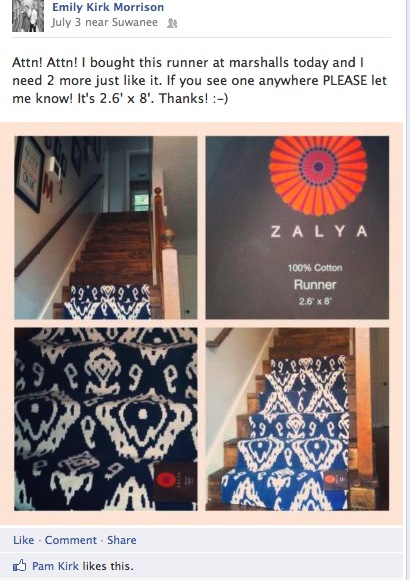
The next morning I called no less than eight different Marshalls before finding the store that saved my life stairs! The nice man said he’d hold it for me until that afternoon. After work I drove straight there. I saw it sitting on the back counter waiting for me. My heart went pitter patter. Okay, enough of the melodrama. I went back to the rug section just to see if there was any way they’d have TWO of these beauties. (For some reason it had escaped my mind to ask the man on the phone that morning if they had more than one–I guess I was just so excited someone finally said something other than “no, we don’t have anything like what you’re describing”.) I couldn’t believe it, there was one more runner waiting just for ME!!
I really think I had have an emotional attachment to these things. They are beautiful and affordable, how could I not?
Since these were a random find and I can’t source them, here are a few other runners I love that would work great for your DIY runner install: (Affiliate links used for your convenience)
I had read on many sites that a great way to make a rug/runner non-slip was to apply silicone caulk to the back of the rug. I had some in the basement so it seemed like the easiest fix to me. I grabbed the stuff and the runners and applied it like I saw in the pictures. I took about 2 minutes to do all three!
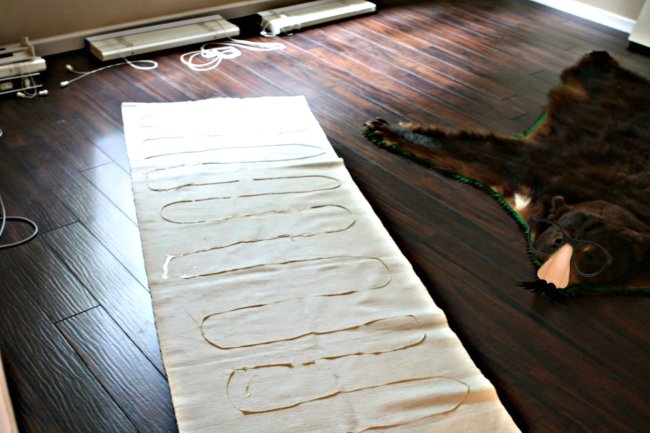
That’s where the good news ends.
About 24 hours later Alex noticed a yellowing on the back of the carpets…right where the silicone was. I’m talking highlighter yellow. I frantically turned the runner over praying that it didn’t bleed through. It did. It’s only where the carpet is white which is the motto of carpet cleaning pittsburgh, but it’s noticeable in day light. We tried everything we could think of to get the stain out, but it was no good. I ripped the silicone backing off and let it sit for a few days while I contemplated what I was going to do.
I just love these runners so much I couldn’t just not use them. The yellowing faded slightly, but it’s not bad enough for me to abort the whole plan all together.
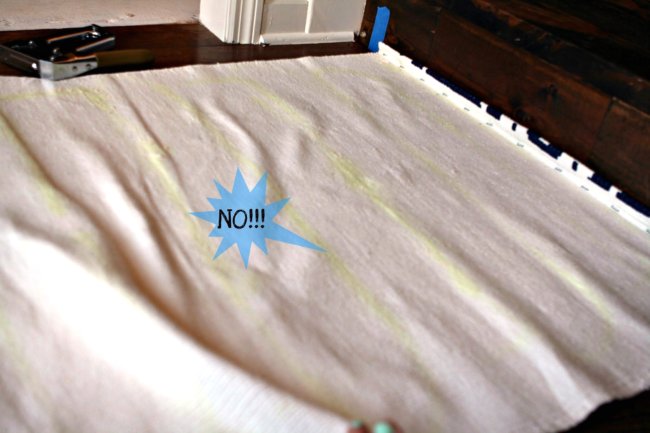
Needless to say, I found another option to help the runner grip the stairs.

A few lot of staples later we had a runner on our stairs and I’m so glad I didn’t just give up!
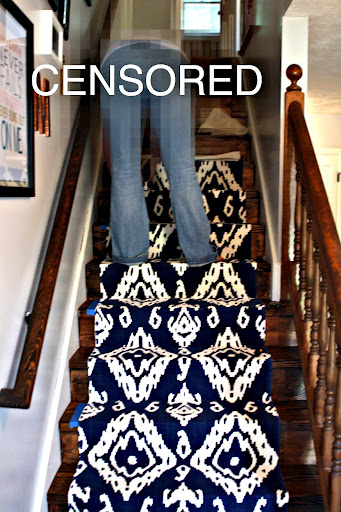
(Excuse the bum shot)
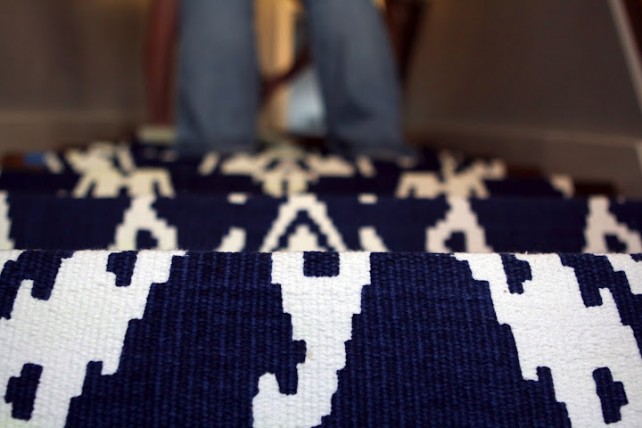
Some places there are no yellow marks at all…
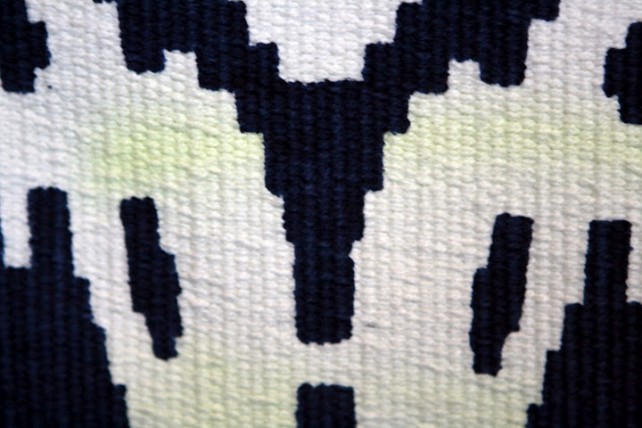
…and then there are other spots where it’s very evident.
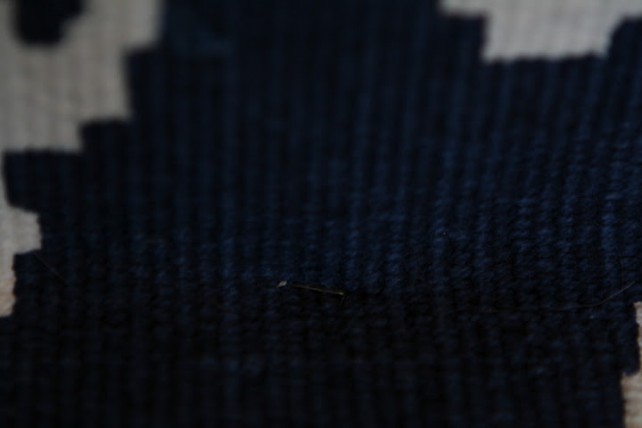
We spray painted the staples black before putting them in the staple gun so they’d blend in. A Sharpie would work great too.
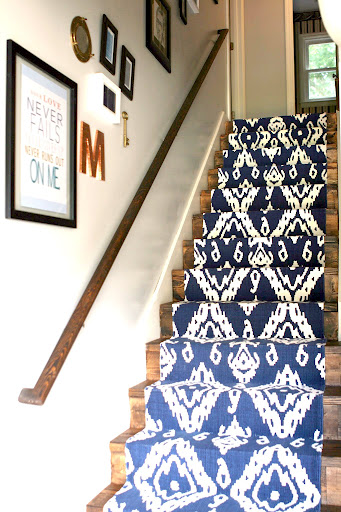
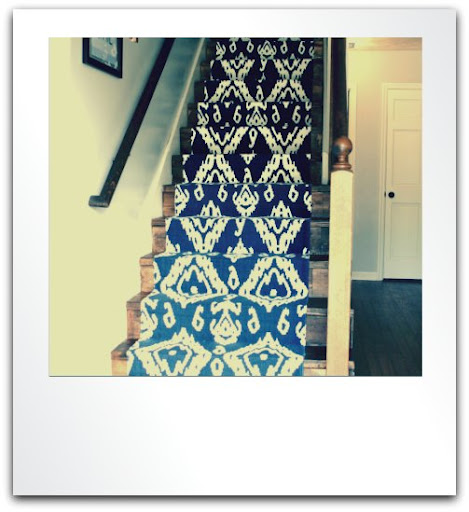
It took us a few hours, and we got really sweaty even though it didn’t seem like we were doing very hard work.

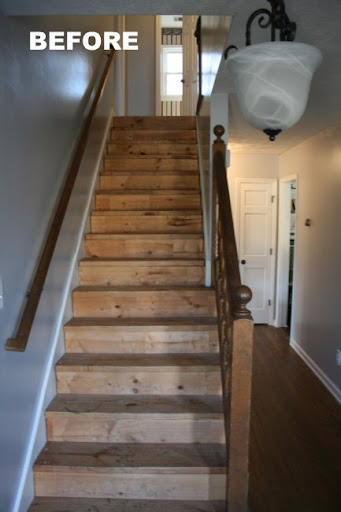
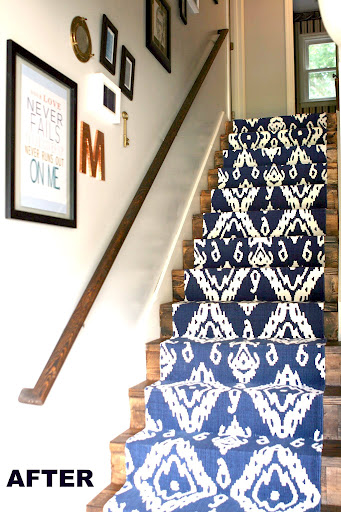
UPDATE: Jesus healed my runner and the highlighter-yellow stains from the caulk have completely disappeared!


24 responses to “DIY Stair Runner”
They look awesome!! Love the navy + white.
Thanks, Jordan!
I love your runner, such a gorgeous pop of fresh and crisp color!
thank you so much!
This is AMAZING! What did you do in between each runner to make them look like one seemless one?
The seams (thankfully!) managed to come together at the back of a tread both times. I didn’t cut my rugs at all in case I ever want to use them somewhere else, so I just stapled them together. If you’re on the stair you can see it, but from the top or bottom it’s not noticable whatsoever.
Thanks for checking out the post!
OH MY GOSH! you will not believe that i found these same rugs at tj max, had my mom and sister scout out their local stores too, and I was able to find enough to make a runner. The insane part is that tomorrow was going to be installation day…so I did a google search, and found your blog…only to see pictures that look identical to what’s currently happening on my stair case. Okay, anyway, my question is, how have these things held up? and what about the white ikat? Is it filthy? I want these to work out so much! Your blog is great!
No way! That’s awesome! It hasn’t been too long since we installed it…just a few weeks–but so far, so good! There’s no discoloration (yet!), but my dog actually had a little accident directly on the white part last week. It cleaned up very easily but I had to make sure to only clean on the white part. Since the rug is 100% cotton the blue dye will run on to the white if it gets wet. That’s the only downfall about the rugs for me…but for $30/pop, I can totally deal.
Good luck!
Hey Emily – you’re the second place I’ve seen runners on wooden stairs lately and it makes my heart sing, because it means i have a stopgap option for my stairs that are covered with a hideous old, dusty, merlot covered carpet. Question – where did the runner stop at the top of the stairs? Just at the lip where the final stair meets the hallway floor, or did you stop at the top of the last stair? (Does this make sense?) Same with the bottom….did the runner meet the floor or stop on the final step?
THANK YOU!
Meghan
As of right now, it spills out at the top of the stairs onto the floor. It actually looks good, but it’s only that way because I’m afraid to cut the rug.
The bottom part is just flush with the floor…not laying on the floor. That’s hard to explain:-/
AWESOMENESS! Thank you for the super tutorial and showing that you made mistakes and it can be fixed. Can’t wait to tackle my stairs!!
“Jesus healed my runner” I about died laughing. I found your blog while trying to find chevron runners for my stairs and I’m glad I read it. Thanks for the laugh!
Did you actually staple the rug to your pretty stairs? Or was the rug ripper enough?
Yes, we stapled it to the stairs. But we didn’t staple it to our “pretty” stairs! lol — they’re just builder grade stairs meant to be covered with carpet. No bullnose, crooked, shallow stairs. A rug gripper would never be enough. That would be very dangerous.
Awesome! Praise the Lord! I want to do this in my house.
Hi Emily – this looks great and I can’t wait to do this to my own stairs. Now when you started, did you stain, sand, seal the existing stair treads/wood…what was your process there? Thanks, Cat.
Is the runner basically a mat with no backing? I want to do this but I’M not sure what to buy. Is it really as easy as you make it seem? Just nonslip pads, some runners & staples?
[…] Source: whatemilydoes […]
really really good
“Jesus healed my runner”
That was literally the best thing I’ve read all day.
[…] Diy stair runner | what emily does […]
this is a great blog. loved it a lot. gave me an idea of what and how a runner is installed. but the thing is I ve granite stairs. complete granite with bullnose. pls do help me to install the same runner on granite stairs.
[url=http://en.gravatar.com/3weekdietnews]
3 week diet pdf
Hi Frank! With granite stairs, I think your only option would be some kind of industrial strength glue.
It appears I am late to the party! 😁I am going to try this… It looks great and I am so happy Jesus saved your rug! Many blessings to you!!!