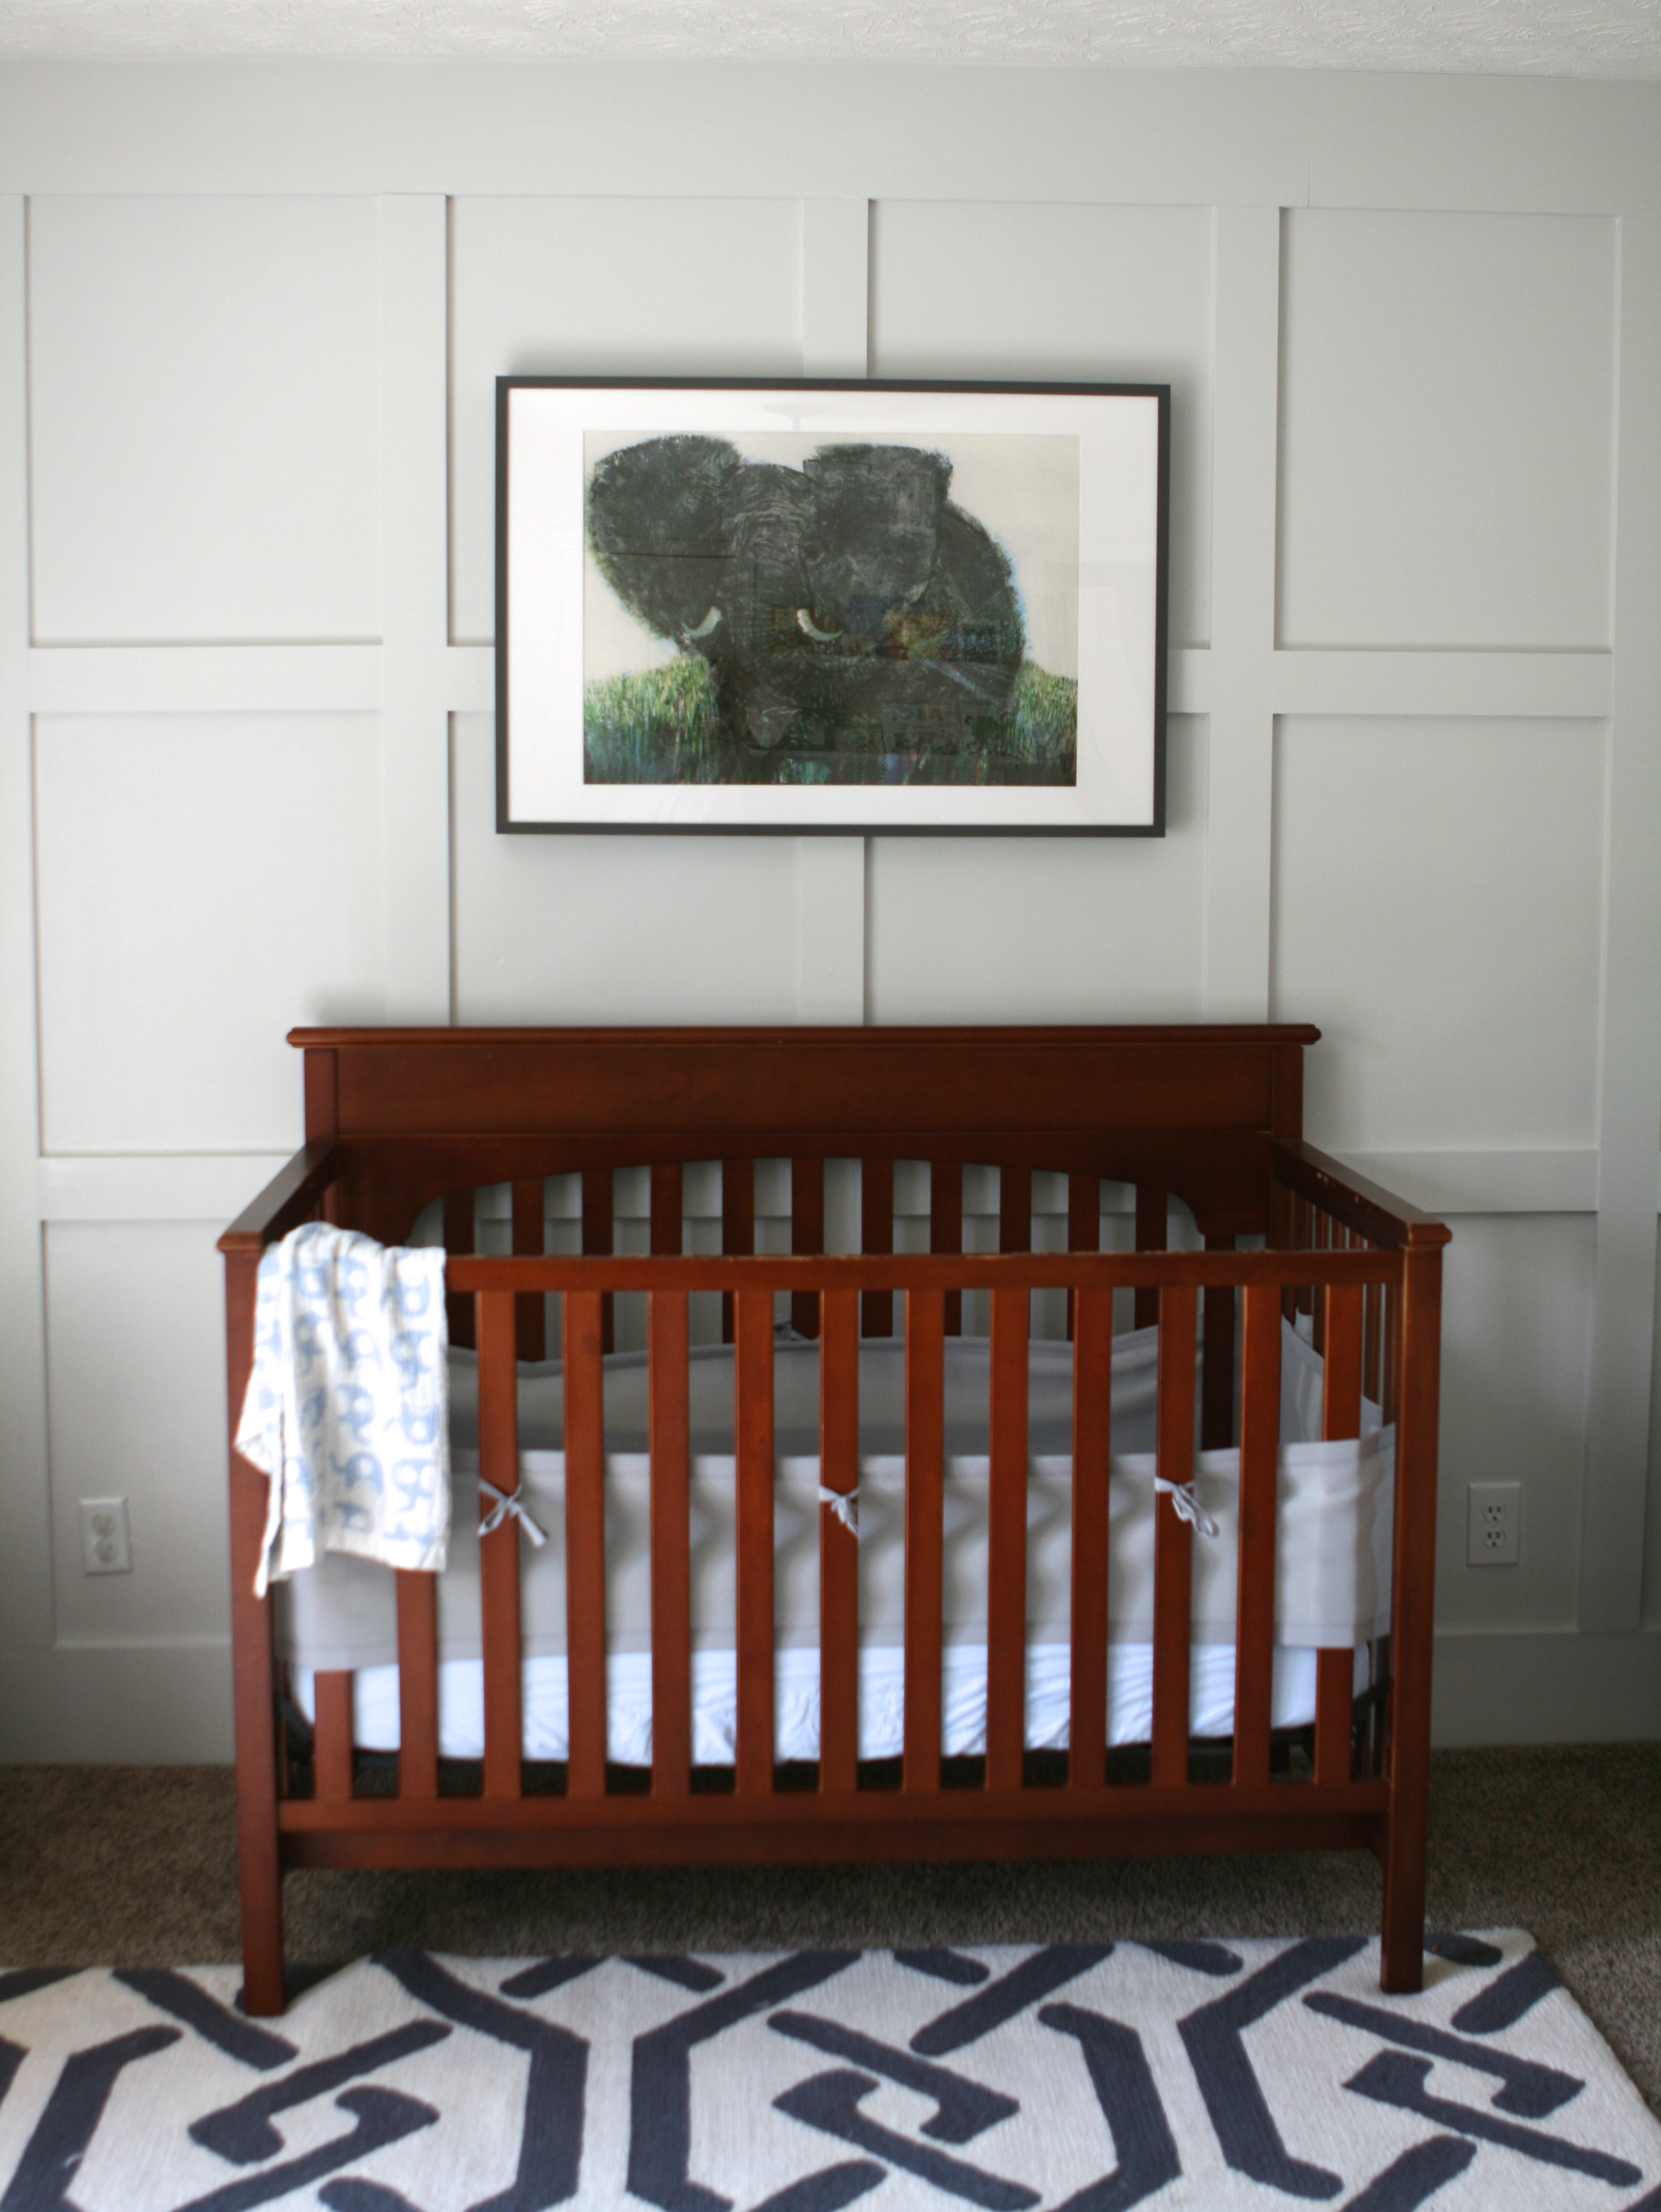
If you follow me on Instagram then you’ve likely seen the nursery already. I’ve finally taken some real photos and am excited to show them to you in true before and after fashion!
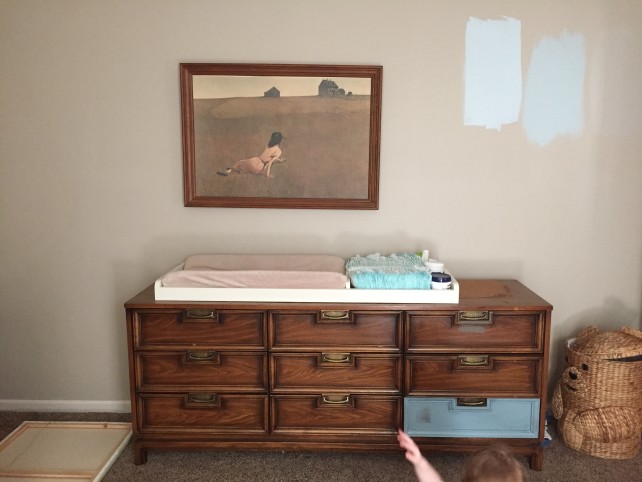
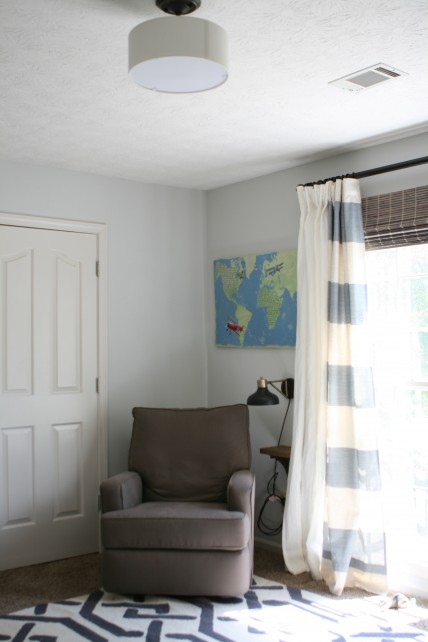
Here’s what the room looked like from the MLS listing before we moved in: 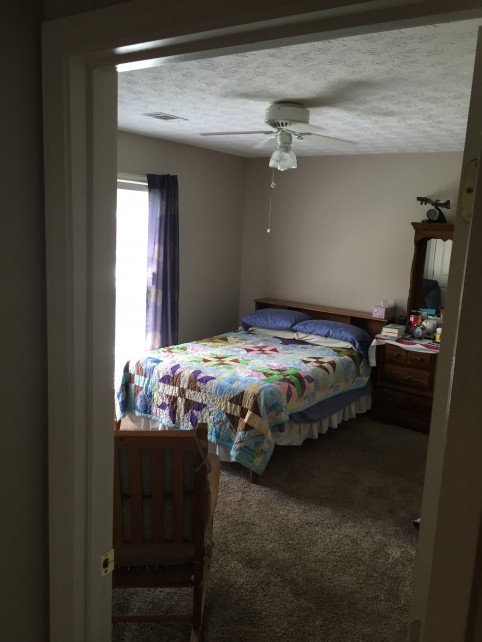
Then the room sat in a blah state until I could get a grip on my life with 2 kids under 2 years old and all the fun that comes with that. 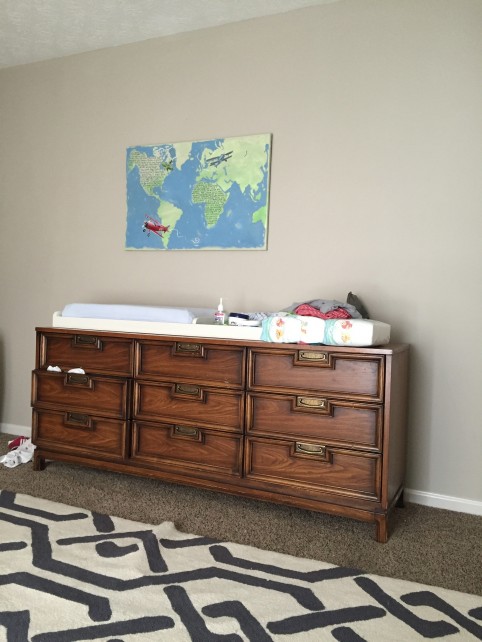
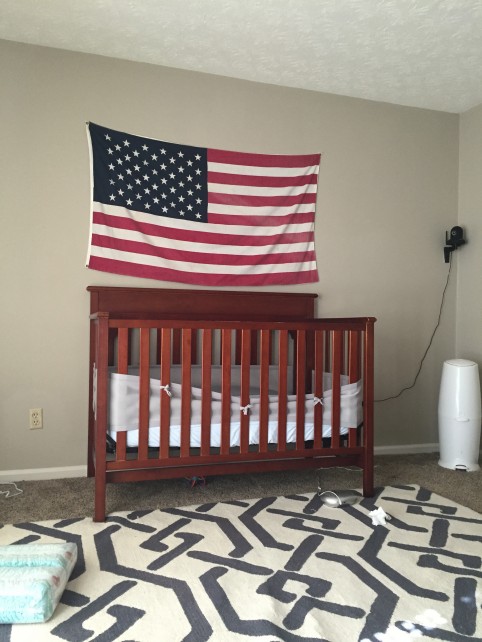
Yeah…so I found a really weathered American Flag and it looks really cool (in person) so I tacked it up above the crib. *shaking my head* I just needed SOMETHING on the walls, so that was it for a few months. Then life started to feel more manageable and I was ready to tackle the nursery for my wild and crazy Cohen.
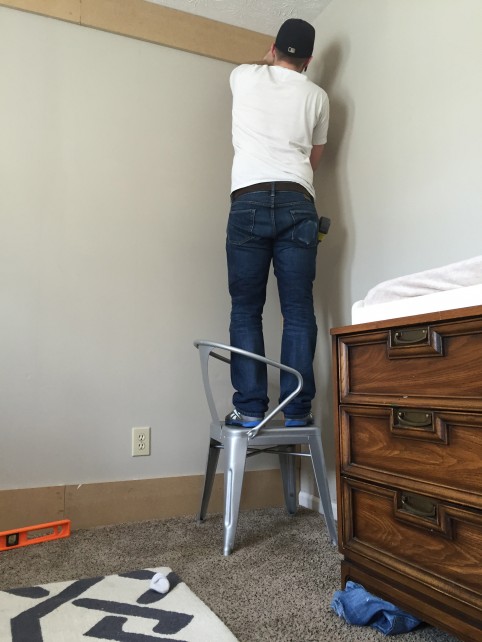
We were able to do the whole wall with one 3/4″ 8×4 MDF sheet & a few scraps that my mom had left over from a project. That’s $30 for product, plus some liquid nails and caulk. Talk about bang for your buck! We had Home Depot cut the big sheet into smaller sizes we pre-measured because they have a huge, awesome saw that does a way better job than we ever could.
Alex got to work before lunch and was finished before supper. It was surprisingly easier than we thought it would be. The biggest challenge was the wall bowed in a few places so we just used extra glue and finishing nails in those spots.
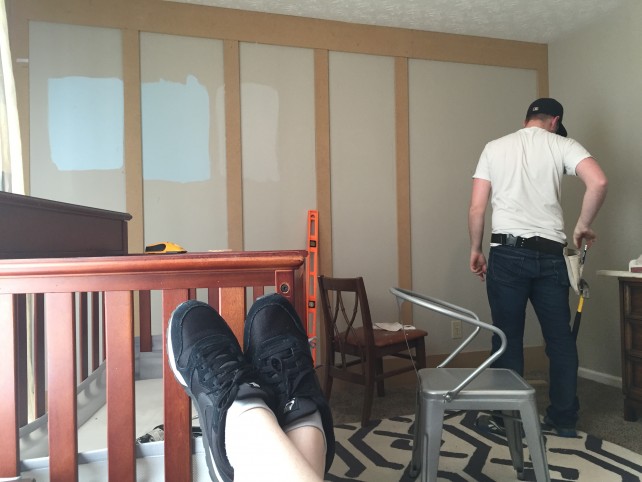
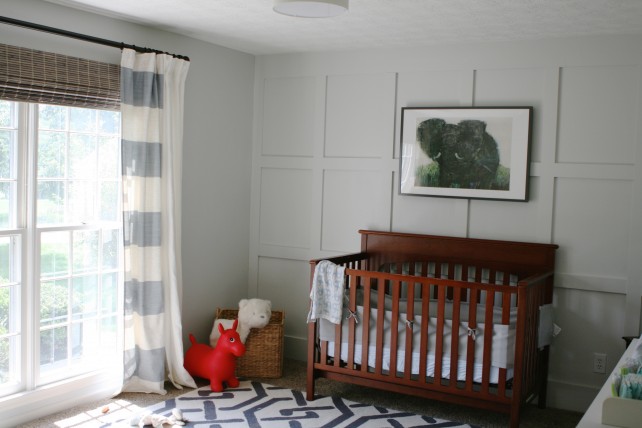
As you can see, we did the top and bottom pieces first (about 7″ each), then placed the vertical pieces (the rest of the boards were around 3.5″), and lastly the horizontal pieces.
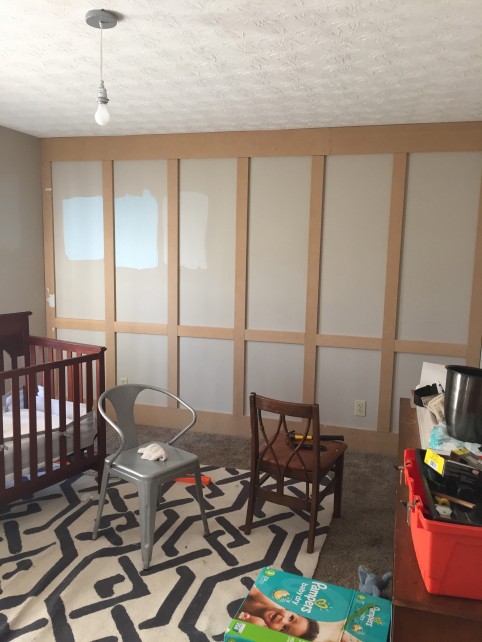
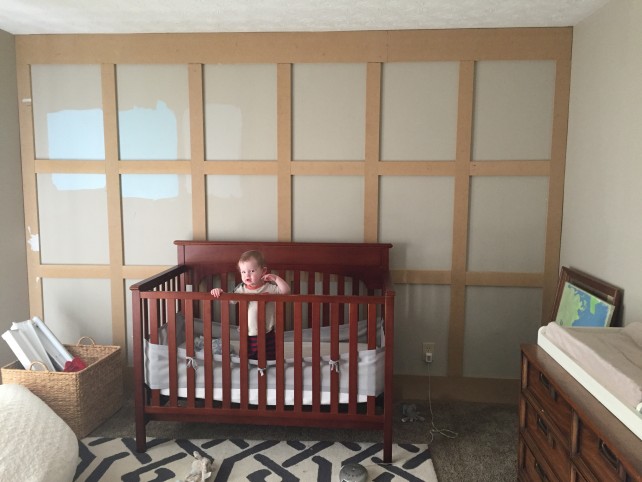
Some caulk, primer and paint later…
This was such a great way to get a huge impact for less than $100. We’re in a bland builder-grade house and adding some architectural interest is a must for my soul! (Okay, a little dramatic sounding…but for real.)
The next project was the dresser.
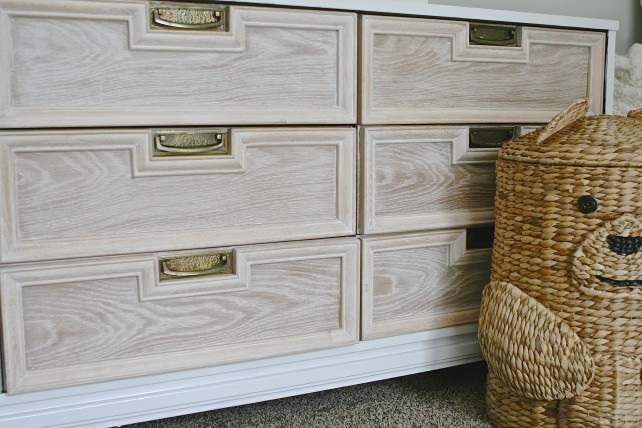
Some may fault me for painting the piece, but the top was pealing its veneer, and I didn’t have the time or energy to strip and re-stain the whole piece. I opted instead to strip the drawers, use a wire brush to get all of the stain out of the grain, then seal it with liming wax which is the white wax that sits in the grain. I think it turned out beautifully and was worth the work!
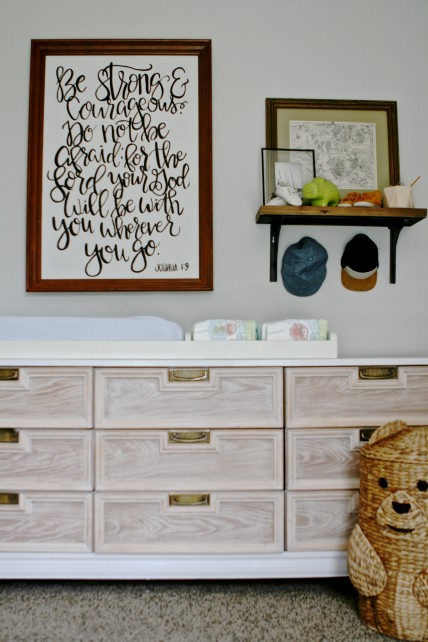
The rest of the room was accessories. There WAS a cute wall of bookshelf ledges, but my son climbed them and one ripped right out of the wall, drywall anchors and all. I guess I need to re-think that plan now-ha!
Here are a few pictures of the rest of the room:
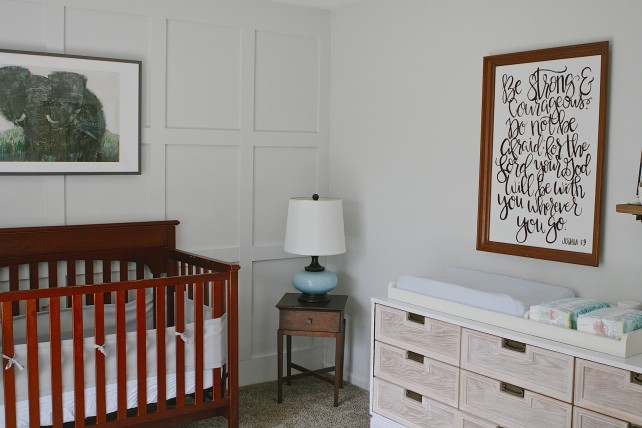
(thanks to my talented sister-in-law Amie for the calligraphy verse!)

WALL COLOR: Sherwin Williams First Star
RUG: RugsUSA.com 5 years ago
DRESSER: craigslist/DIY using Briwax Liming Wax, 8 ounce
ELEPHANT PRINT: vintage print. Frame: IKEA
WALL SCONCE: Target
CURTAINS: White linen, IKEA. Blue stripe, HomeGoods.
BAMBOO ROMAN SHADE: Home Depot
2 responses to “Nursery Before and After: Cohen’s room”
I looked for this exact dresser makeover look! This post is nearly 3 years old but I just wanted to say yours came out beautifully and I plan follow your lead on my project.
Thank you, Aleecia!